
Deploy Feature on Demand using SCCM
Founder of System Center Dudes. Based in Montreal, Canada, Senior Microsoft SCCM Consultant, 8 times Enterprise Mobility MVP. Working in the industry since 1999. His specialization is designing, deploying and configuring SCCM, mass deployment of Windows operating systems, Office 365 and Intune deployments.

Benoit Lecours
PresidentTable of Content


Share


Get the latest insights and exclusive content delivered to your inbox
Beginning with Windows 10 1709, you can’t use WSUS to host Features on Demand and language packs for Windows 10 clients. Instead, you need to download them directly from Windows Update. This is the official Microsoft Statement… at the time of this writing, it’s still possible to download FoD on VLSC or MSDN. We are in a transition method but clearly sees where Microsoft is going. This blog post will show one method to install FoD using SCCM but there are alternative methods also when you download the file from VLSC or MSDN (hint : Use Dism).
Features on Demand (FODs) are Windows feature packages that can be added at any time. When a Windows 10 PC needs a new feature, it can request the feature package from Windows Update.
If you’re using SCCM or WSUS for your software update, you need to change a Group Policy setting that lets clients download these directly from Windows Update instead of your on-premise infrastructure. Without this group policy, all your installation tentative will fails with error 0x800f0954. This is because your client will check on your on-premise servers instead of Microsoft Update and won’t be able to find the feature.

You can also host Features on Demand and language packs on a network share, but starting with Windows 10 1809, language packs can only be installed from Windows Update. This is why we recommend using the group policy method to redirect your clients to Windows Update to get FoD or Language packs.
To change this policy :
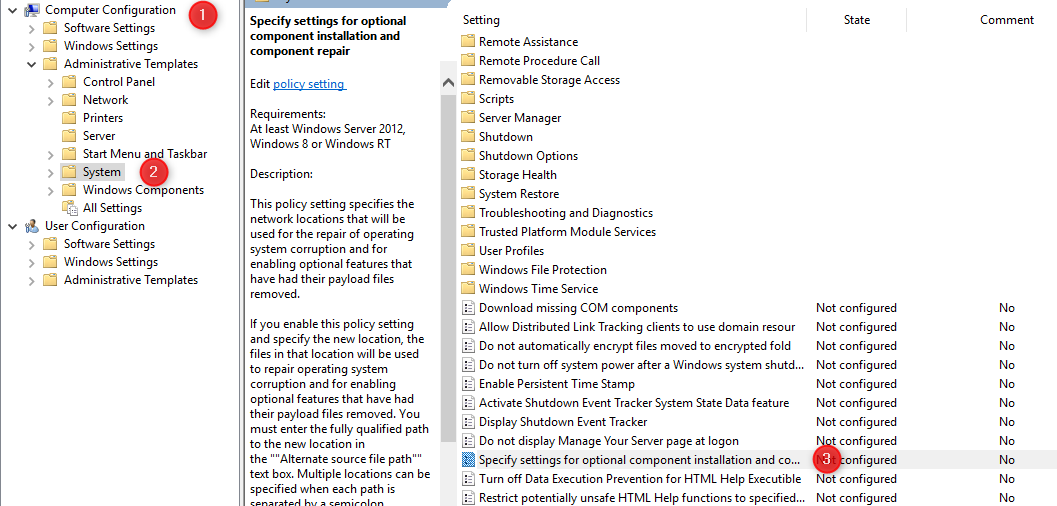
- Open your group policy editor
- Navigate to Configuration\Administrative Templates\System
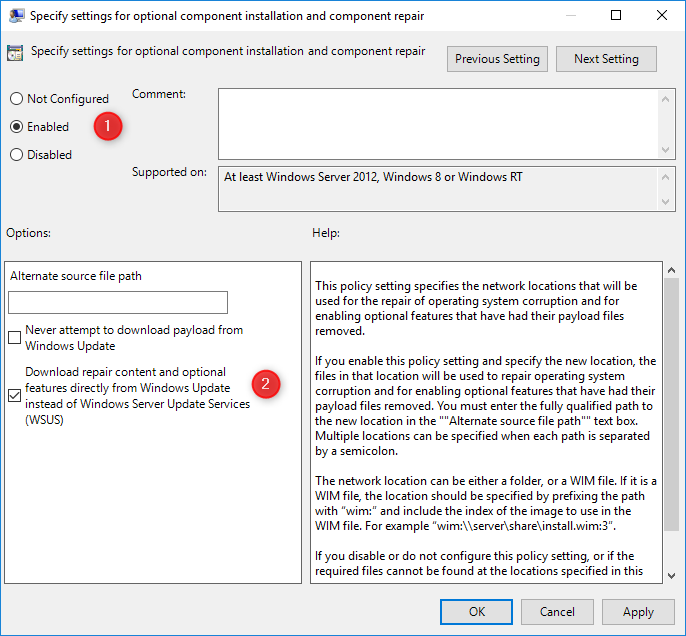
- Enable the Specify settings for optional component installation and component repair policy
- Check the Download repair content and optional features directly from Windows Update instead of Windows Server Update Services (WSUS) checkbox
Changing this policy only enables Features on Demand and language pack downloads from Windows Update. It doesn’t affect how clients get feature and quality updates deployed by SCCM.
Deploy a Feature on Demand using SCCM
To deploy a new feature on demand to your client, you must understand a couple of things.
First, you need to understand that SCCM/WSUS can’t host these features so it will be downloaded from the internet by your SCCM clients.
The trick is to use the Add-WindowsCapability PowerShell cmdlet to call the feature that you need. You can get a list of available Feature on demand on Microsoft Doc or by using this PowerShell command :
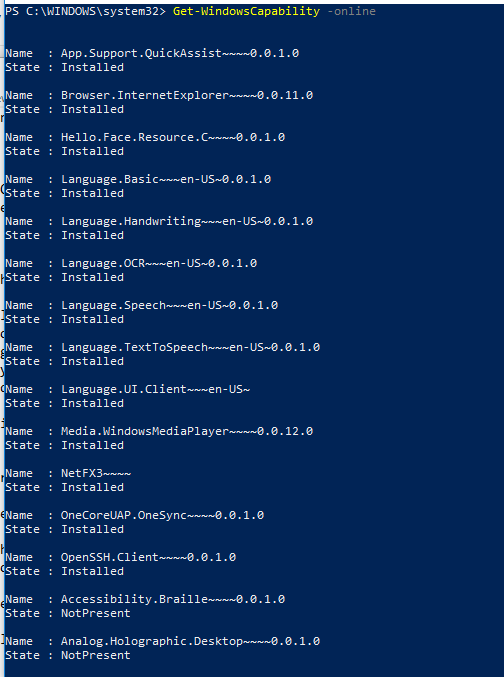
Get-WindowsCapability -online 
Each Feature on Demand has a state. It can be Installed or Not present. Depending on the Windows 10 version, you may have a different list of “not present“. Follow Microsoft Documentation to see which Feature can apply to your Windows version or see the list yourself running the Get-WindowsCapability -online command.
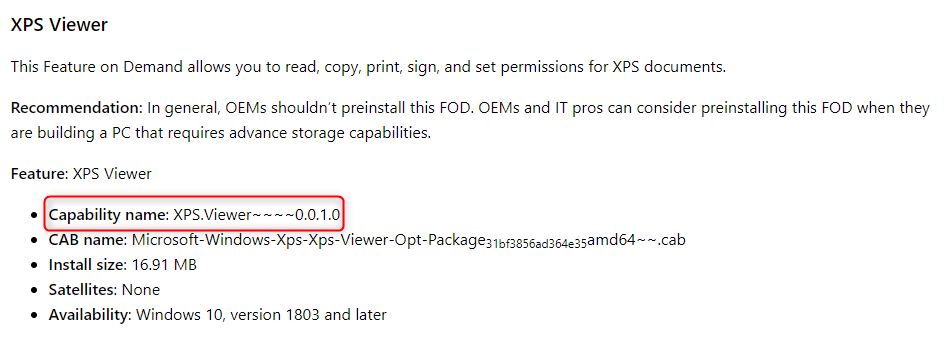
For our example, we are running Windows 10 1809 and we’ll use SCCM to deploy XPS viewer but it can be used for any Feature on demand. You just need to change your script to call the right Capability name. (In our example the Capability Name is XPS.Viewer~~~~0.0.1.0). We can also see that the size of this Feature is nearly 17MB
Hint: You can also install a series of Feature in a single command. For example, Remote Administration Tools have all Capability name like “RSAT*”. So to install all Remote Administration Tools on a Windows 10 1809 machine, simply use this command :
Get-WindowsCapability -Online -Name RSAT* | Add-WindowsCapability -Online
Deploy Features on Demand to client remotely using SCCM
To deploy FoD using SCCM you have 2 options. The first one is to use the new script feature if you are running SCCM 1706 or later. The second one would be to deploy using a standard package or application.
Script Feature
We’ll start by deploying it using the SCCM Script feature
- In the SCCM Console, go to Software Library\Scripts
- Create a new PowerShell script with this command (Change the FoD name if needed)
Get-WindowsCapability -Online | where name -like xps* | Add-WindowsCapability -Online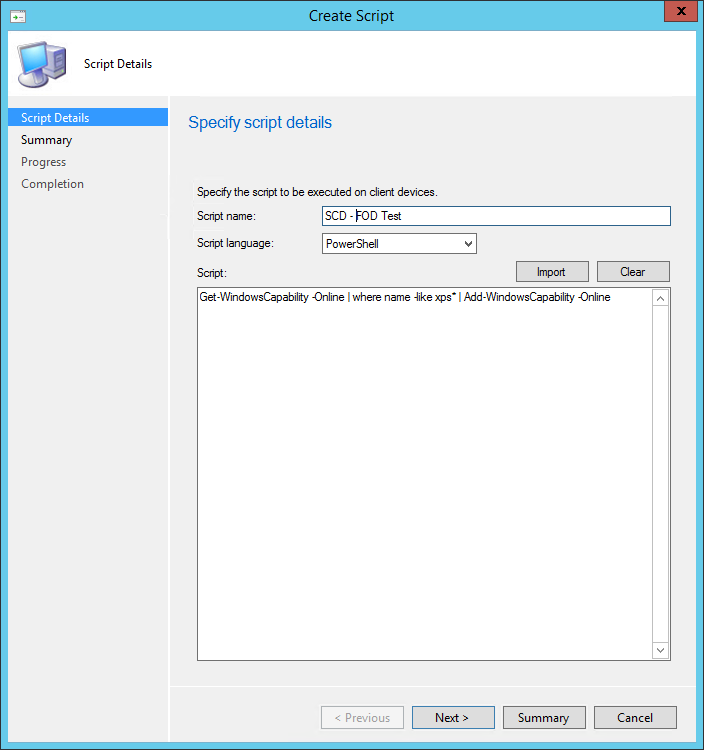
- Complete the Script wizard
- Approve your script by selecting it and click Approve on the top ribbon
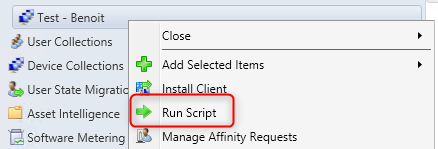
- Go to a test collection and right-click it, select Run Script
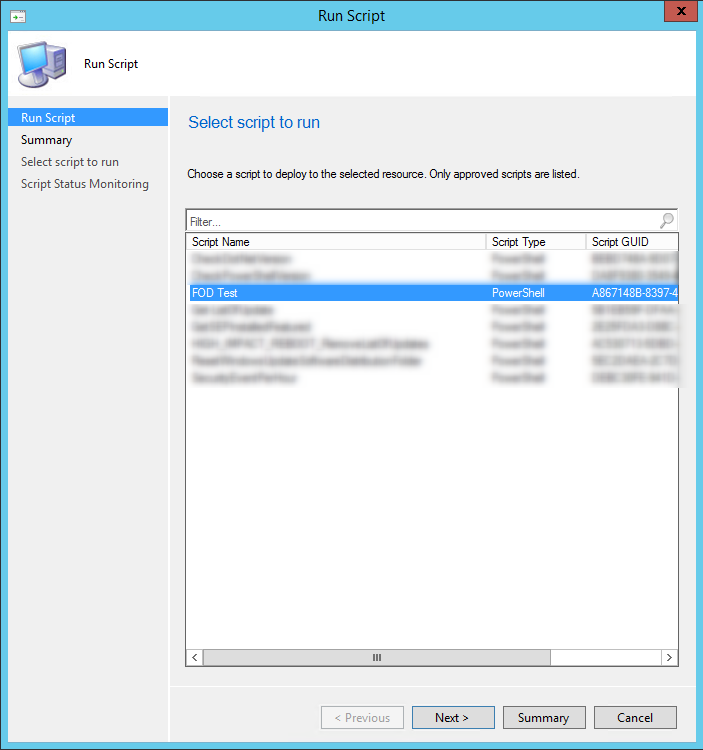
- Select the script you just created
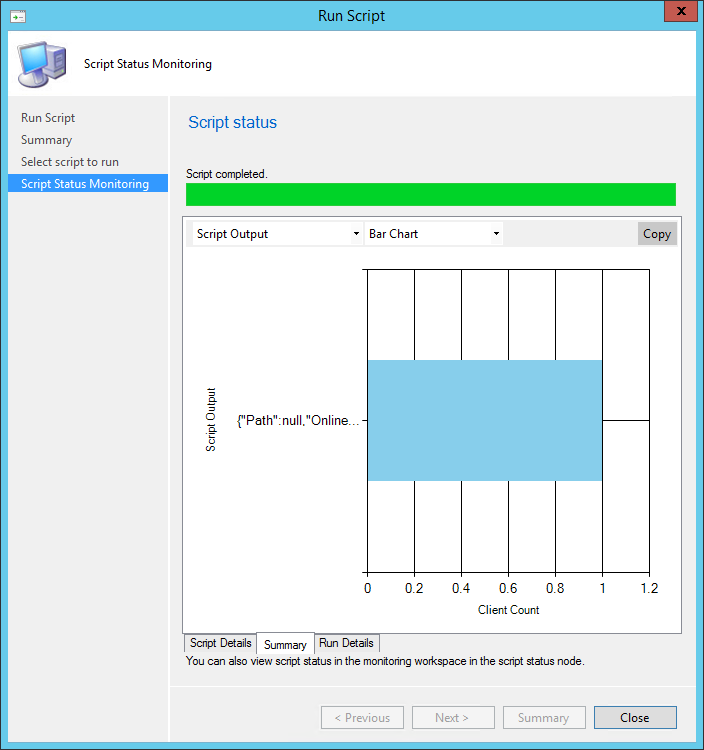
- Validate Script Execution in the next screen. You can also monitor the script status in the console Monitoring\Script Status
Results
You can now validate that the Feature on Demand is installed on your test computer.
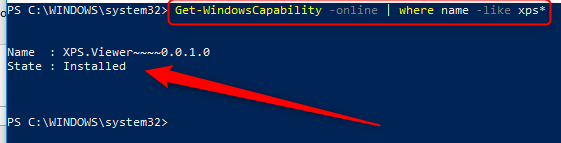
- Using PowerShell : Get-WindowsCapability -Online | where name -like xps
- State should be Installed
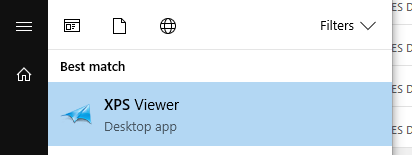
- In the Windows 10 Start Menu
- XPS Viewer is installed
Further FoD installation logging can be found locally on the computer C:\Windows\logs\dism\dism.log
Package
If you prefer to use the good old Package method, you need to :
- Create a PowerShell file FOD-Install.ps1 with this command :
Get-WindowsCapability -Online | where name -like xps* | Add-WindowsCapability -Online- Create a new Package with source file pointing on your powershell file
- For the program, specify the following command line :
powershell.exe -ExecutionPolicy Bypass -NoLogo -NonInteractive -NoProfile -WindowStyle Hidden -File .\FOD-Install.ps1- Distribute the Package to your Distribution Point
- Deploy your package to your test collection (Available or Required)
- Initiate a client refresh policy
- The results will be the same as for script (see Result Section above)
We expect Microsoft to increase the release of Feature on Demand in the following Windows release. We can clearly see where this is going. In a future post we’ll talk about language pack installation which should be pretty similar. Stay tuned !
[ratings]
Share
Get the latest insights and exclusive content delivered to your inbox


Jimmy
01.22.2020 AT 11:11 AMMeera Preety
07.20.2019 AT 11:21 AMRobert
07.18.2019 AT 06:05 PMBrandon
06.07.2019 AT 08:57 AMRoger
03.08.2019 AT 09:24 AMSujith
02.05.2019 AT 07:38 PMMatthew McDonald
01.11.2019 AT 06:22 PMJochen
03.15.2019 AT 02:05 AMKevin
12.06.2018 AT 09:25 AMNAWAZ KAZI
11.30.2018 AT 01:49 AMZeb
11.28.2018 AT 10:24 AMEric
11.29.2018 AT 11:58 AMZeb
11.30.2018 AT 08:57 AM