
SCCM Windows 7 to Windows 10 1909 Upgrade Guide
Founder of System Center Dudes. Based in Montreal, Canada, Senior Microsoft SCCM Consultant, 8 times Enterprise Mobility MVP. Working in the industry since 1999. His specialization is designing, deploying and configuring SCCM, mass deployment of Windows operating systems, Office 365 and Intune deployments.

Benoit Lecours
PresidentTable of Content
- Check SCCM Version for SCCM Windows 10 1909 Upgrade
- Windows ADK
- Upgrade Method – Task Sequence or Servicing Plan?
- Import Windows 10 1909 Operating System
- Distribute your Windows 10 1909 Operating System Image
- Add Operating System Upgrade Packages
- Distribute your Operating System Upgrade Packages
- Create SCCM Task Sequence – SCCM Windows 7 Windows 10 1909
- Edit the SCCM Windows 10 1909 Task Sequence Upgrade
- Deploy the SCCM Windows 10 1909 Upgrade Task Sequence
- Launch the Upgrade Process on a Windows 7 computer
- Create Software Update Group
- Import ADMX File
- Bonus Ressources


Share


Get the latest insights and exclusive content delivered to your inbox
Windows 7 will be out of support in less than 2 months. You’ll have to pay extended support after January 14th, 2020 to stay supported. Microsoft published the Windows 10 1909 feature update (aka Windows 10 November 2019 Update), in VLSC on November 15th, 2019. If you haven’t planned your Windows 7 migration to Windows 10, this post will help prepare your SCCM Server to deploy it.
You may also need to deploy Windows 1909 to your Windows 10 computer to stay supported or to benefits from the new features. Before deploying a new Windows 10 feature upgrade, you need to have a good plan. Test it in a lab environment, deploy it to a limited group and test all your business applications before broad deployment. Do not treat a feature upgrade as normal monthly software updates. Treat it as a new operating system as if you were upgrading Windows 7 to Windows 10.
This blog post will cover all the task needed to deploy the new Windows 10 1909 using SCCM:
- Check if you have an SCCM Supported version
- Upgrade your Windows ADK
- Import the OS in SCCM to use with your deployment Task Sequence
- Create a Windows 10 Upgrade Task Sequence for Windows 10 (and Win 7 or 8.1 computers)
- Update your Automatic Deployment Rules and Software Update, groups
- Import your ADMX
Check SCCM Version for SCCM Windows 10 1909 Upgrade
For Windows 10 1909 November 2019 Update, you need at least SCCM 1906 in order to support it as a client. See the following support matrix if you’re running an outdated SCCM version and make sure to update your site.
Windows ADK
Before capturing and deploying a Windows 10 1909 image, make sure that you’re running a supported version of the Windows ADK. Windows recommends using the Windows ADK that matches the version of Windows you’re deploying. If you’re already running an ADK version on your SCCM server, see our post on how to install a new version.
Upgrade Method – Task Sequence or Servicing Plan?
You can’t use servicing plans to upgrade Windows 7 or Windows 8 computers. So you must use an upgrade task sequence.
In order to upgrade an existing Windows 10 to Windows 1909, you have 2 choices: You can use an upgrade Task Sequence or you can use Servicing Plans.
There a strong debate over which is the best method. We prefer to use Upgrade Task Sequence for the simple reason that it’s more customizable. You can run pre-upgrade and post-upgrade tasks which will be mandatory if you have any sort of customization to your Windows 10 deployments.
For example, Windows 10 is resetting pretty much anything related to regional settings, keyboard, start menu and taskbar customization. Things are getting better from one version to another but if you’re upgrading from an older build, let’s say 1511, expect some post-configuration tasks… and the only way to do that is using a task sequence.
Servicing Plan has the simplicity, you set your option and forget, as for Automatic Deployment Rules does for Software Updates. We yet did not have any client that doesn’t want any control over Windows 10 upgrade in their organization. We totally understand the point of Servicing Plan and they’ll be useful in a couple of releases when Windows 10 upgrades will be an easy task… but for now, it’s not, unfortunately.
Import Windows 10 1909 Operating System
We will now import the Windows 10 1909 WIM file for Operating System Deployment. If you don’t have the Windows 10 ISO, you can download it from Microsoft Volume Licensing Site.
We will be importing the default Install.wim from the Windows 10 media for a “vanilla” Windows 10 deployment. You could also import a WIM file that you’ve created through a build and capture process. This WIM wile will be used for new computers, to upgrade an existing Windows 10, you need to import an Operating System Upgrade Packages. We will cover this in the next section.
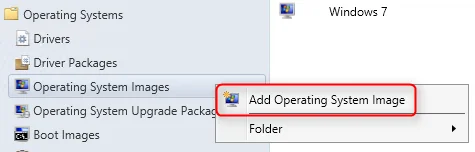
- Open the SCCM Console
- Go to Software Library / Operating Systems / Operating System Images
- Right-click Operating System Images and select Add Operating System Image
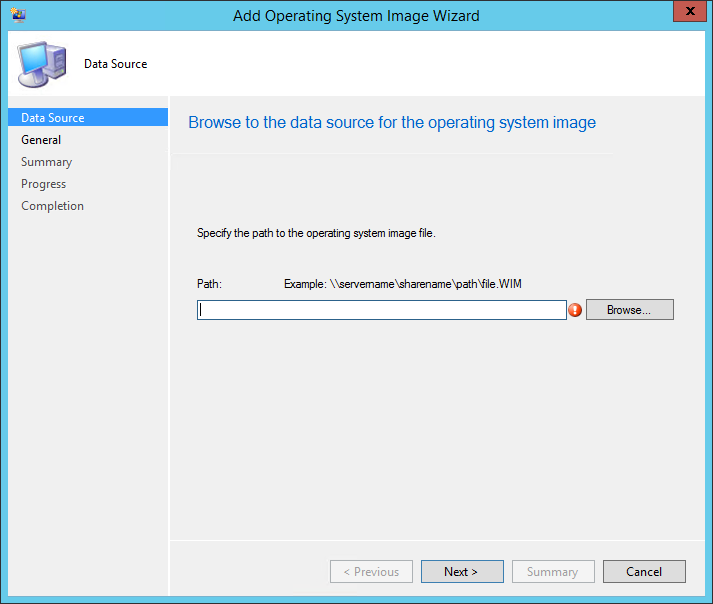
- On the Data Source tab, browse to your WIM file. The path must be in UNC format
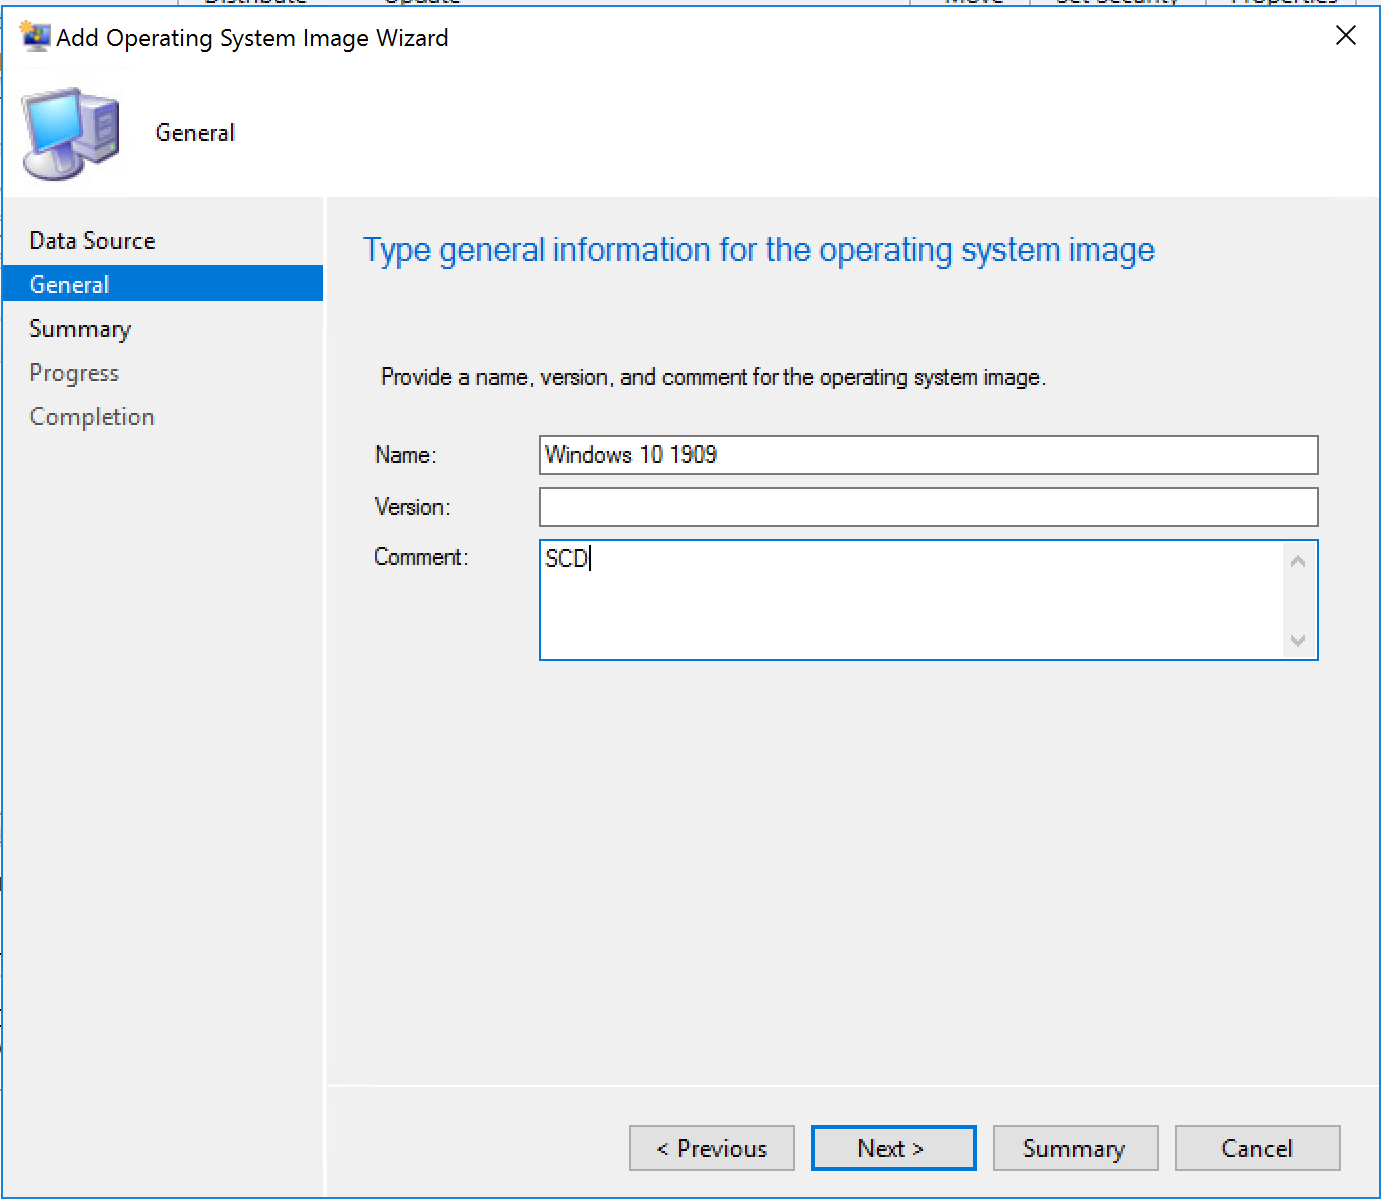
- In the General tab, enter the Name, Version and Comment, click Next
- It’s normal that you see Windows 10 Education even if you are importing Enterprise edition as this WIM contains multiple indexes. You’ll need to choose the right one in your deployment Task Sequence
- On the Summary tab, review your information and click Next. Complete the wizard and close this window
Distribute your Windows 10 1909 Operating System Image
We now need to send the Operating System Image (WIM file) to our distribution points.
- Right-click your Operating System Image, select Distribute Content and complete the Distribute Content wizard
Add Operating System Upgrade Packages
We will now import the complete Windows 10 media in Operating System Upgrade Packages. This package will be used to upgrade an existing Windows 10 or a Windows 7 (or 8.1) device to Windows 10 using an Upgrade Task Sequence.
- Open the SCCM Console
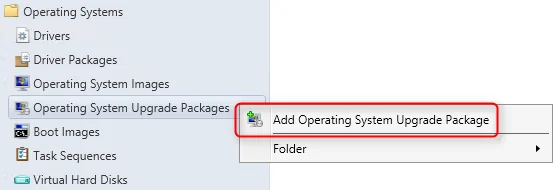
- Go to Software Library / Operating Systems / Operating System Upgrade Packages
- Right-click Operating System Upgrade Packages and select Add Operating System Upgrade Packages
- In the Data Source tab, browse to the path of your full Windows 10 media. The path must point to an extracted source of an ISO file. You need to point at the top folder where Setup.exe reside
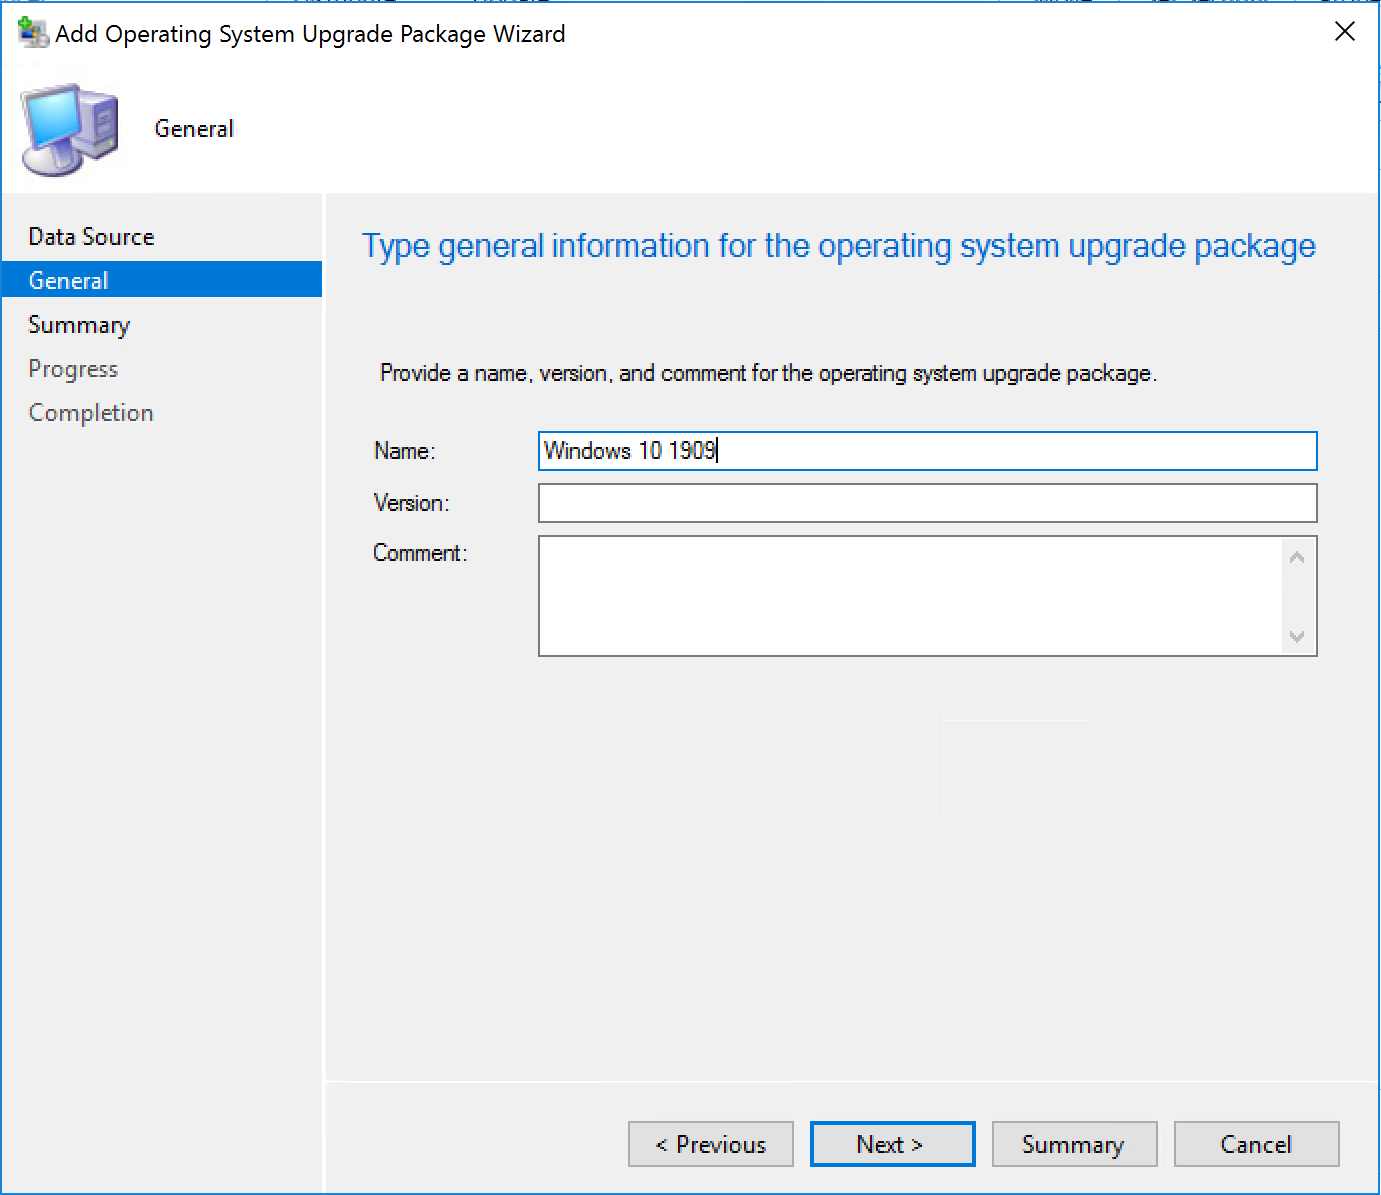
- In the General tab, enter the Name, Version, and Comment, click Next
- On the Summary tab, review your information and click Next and complete the wizard
Distribute your Operating System Upgrade Packages
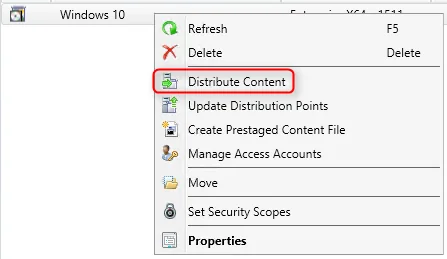
We now need to send the Operating System Upgrade Package to your distribution points.
- Right-click your Operating System Upgrade Package, select Distribute Content and complete the Distribute Content wizard
Create SCCM Task Sequence – SCCM Windows 7 Windows 10 1909
Let’s create an SCCM task sequence upgrade for a computer running a Windows 10 device. Once again, this Task Sequence could be used for Windows 7 or 8.1.
- Open the SCCM Console
- Go to Software Library \ Operating Systems \ Task Sequences
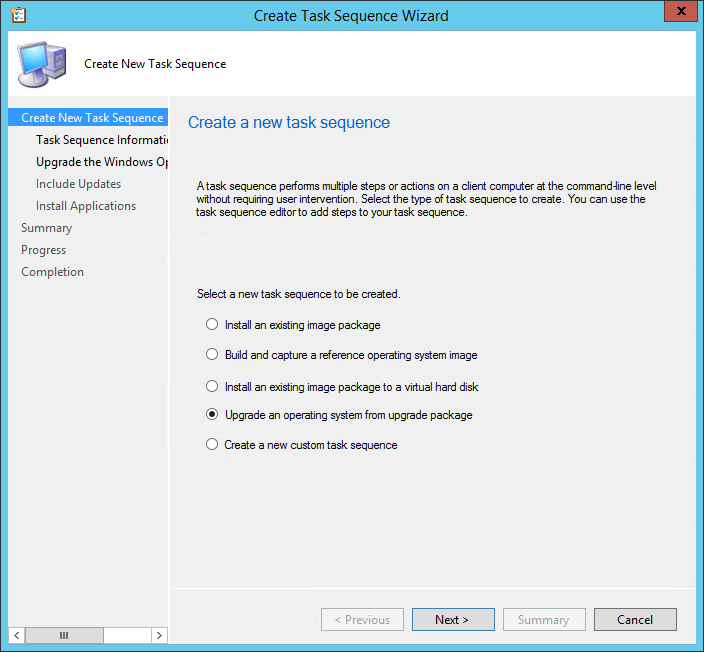
- Right-click Task Sequences and select Upgrade an operating system from upgrade package
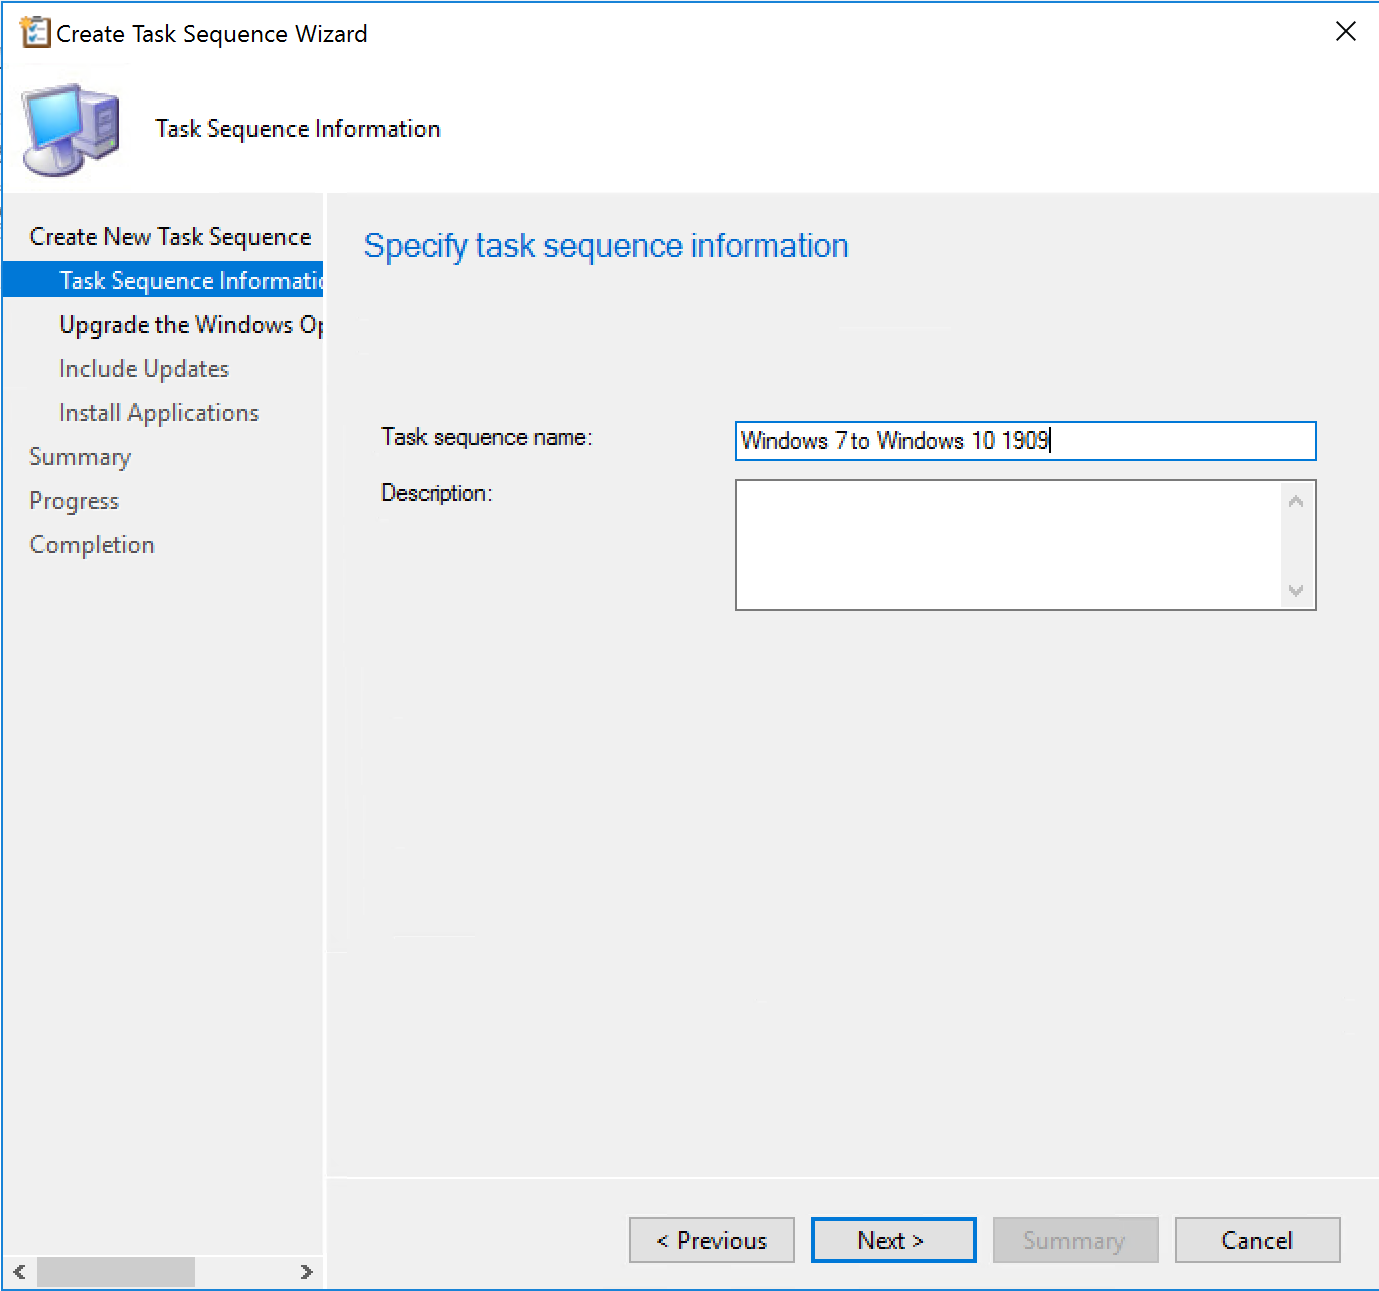
- In the Task Sequence Information tab, enter a Task Sequence Name and Description
- On the Upgrade the Windows Operating System tab, select your upgrade package by using the Browse button
- Select your Edition Index depending on the edition you want to deploy

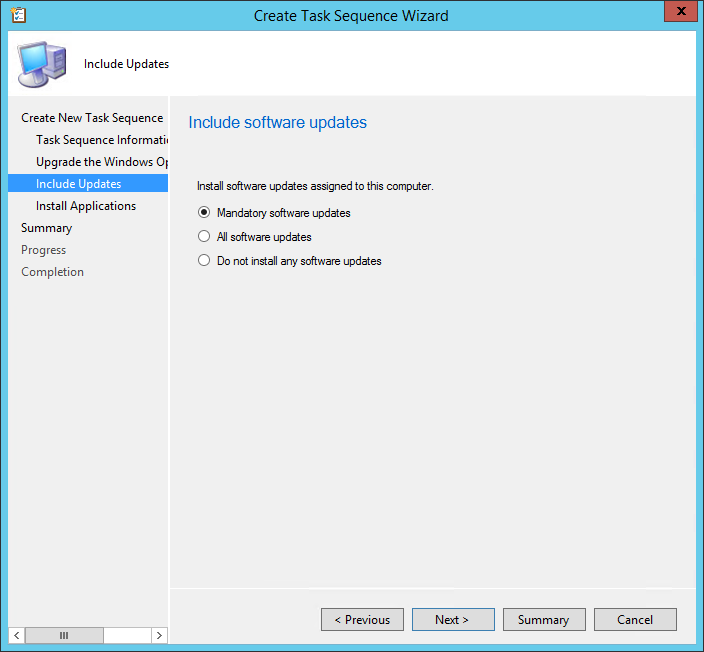
- On the Include Updates tab, select the desired Software Update task
- All Software Updates will install the updates regardless of whether there is a deadline set on the deployment (on your OSD collection)
- Mandatory Software Updates will only install updates from deployments that have a scheduled deadline (on your OSD collection)
- Do not install any software updates will not install any software update during the Task Sequence
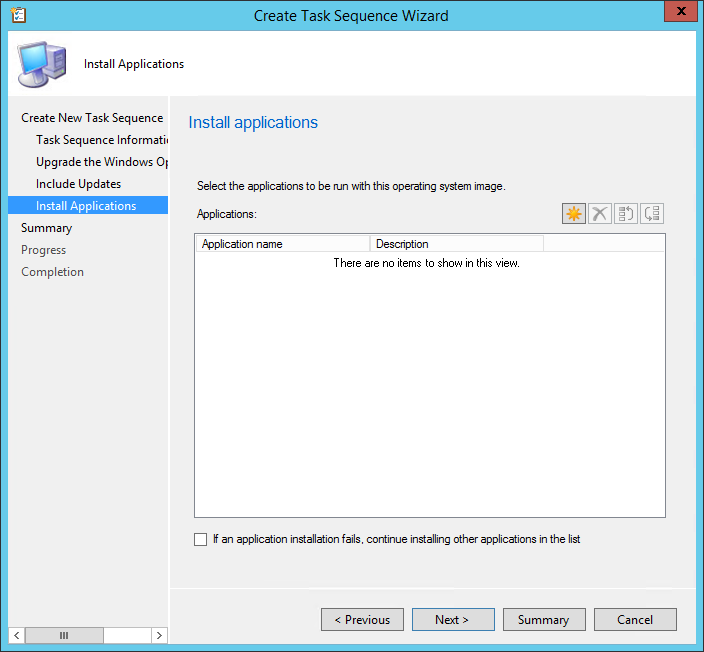
- On the Install Applications tab, select any application you want to add to your upgrade process
- On the Summary tab, review your choices and click Next and click Close
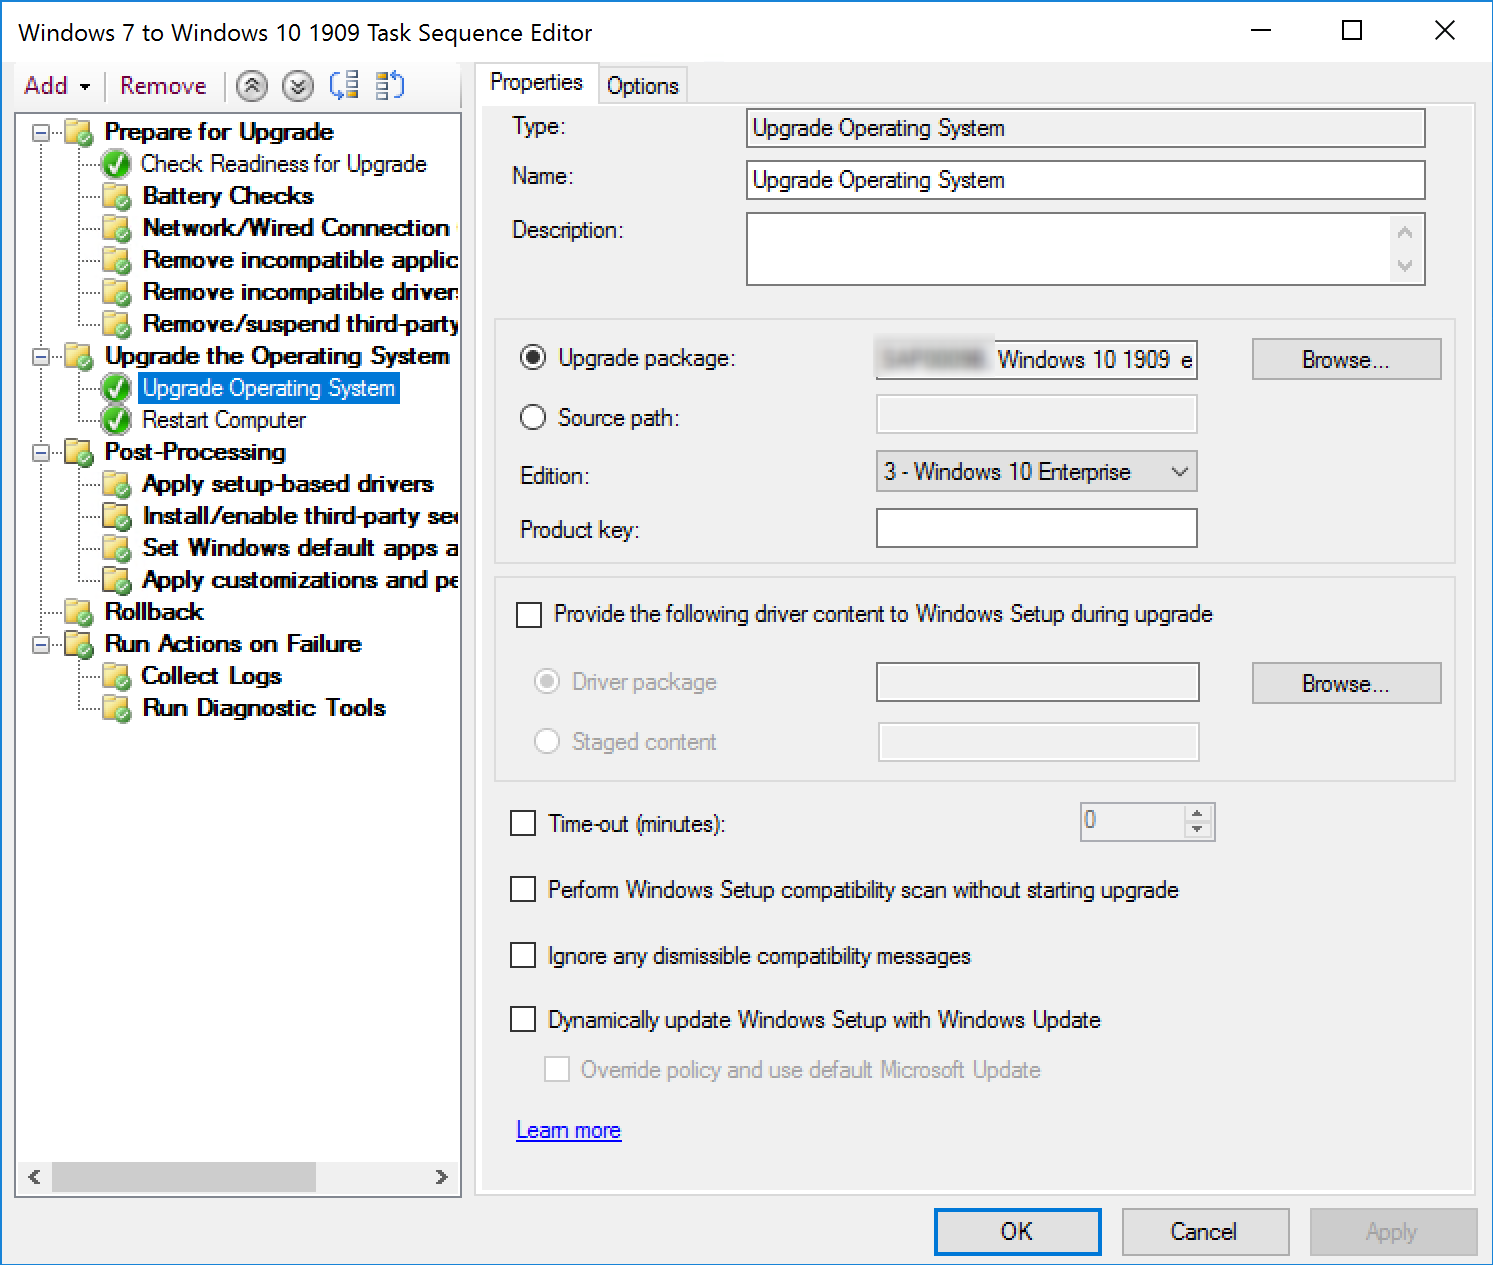
Edit the SCCM Windows 10 1909 Task Sequence Upgrade
Now that we have created the upgrade task sequence, let’s see what it looks like under the hood. SCCM 1802 brings new built-in checks to improve deployment success.
- Open the SCCM Console
- Go to Software Library \ Operating Systems \ Task Sequences
- Right-click your upgrade task sequences and select Edit
As you can see, it’s fairly simple. SCCM will take care of everything in a couple of steps :
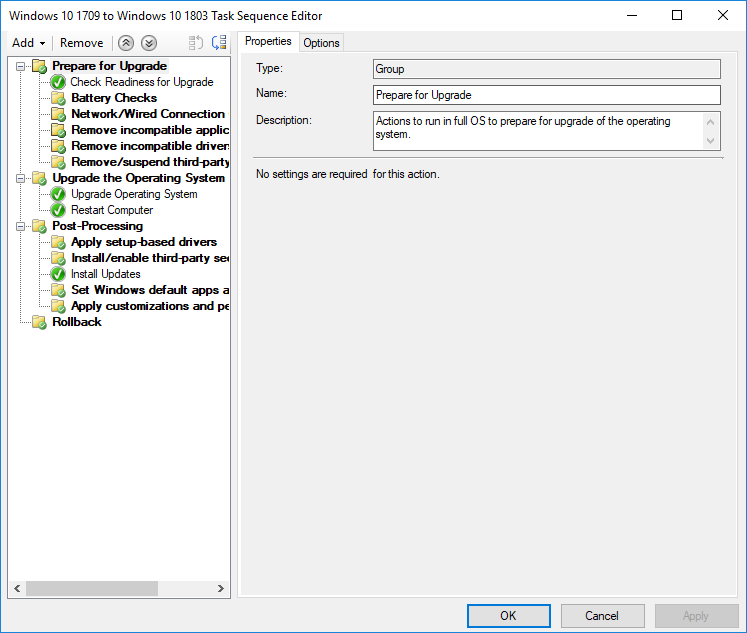
- The Upgrade Operating System step contains the important step of applying Windows 10
- Ensure to choose the right Edition since the WIM file contains multiple indexes

Deploy the SCCM Windows 10 1909 Upgrade Task Sequence
We are now ready to deploy our task sequence to the computer we want to upgrade. In our case, we are targeting a Windows 7 computer.
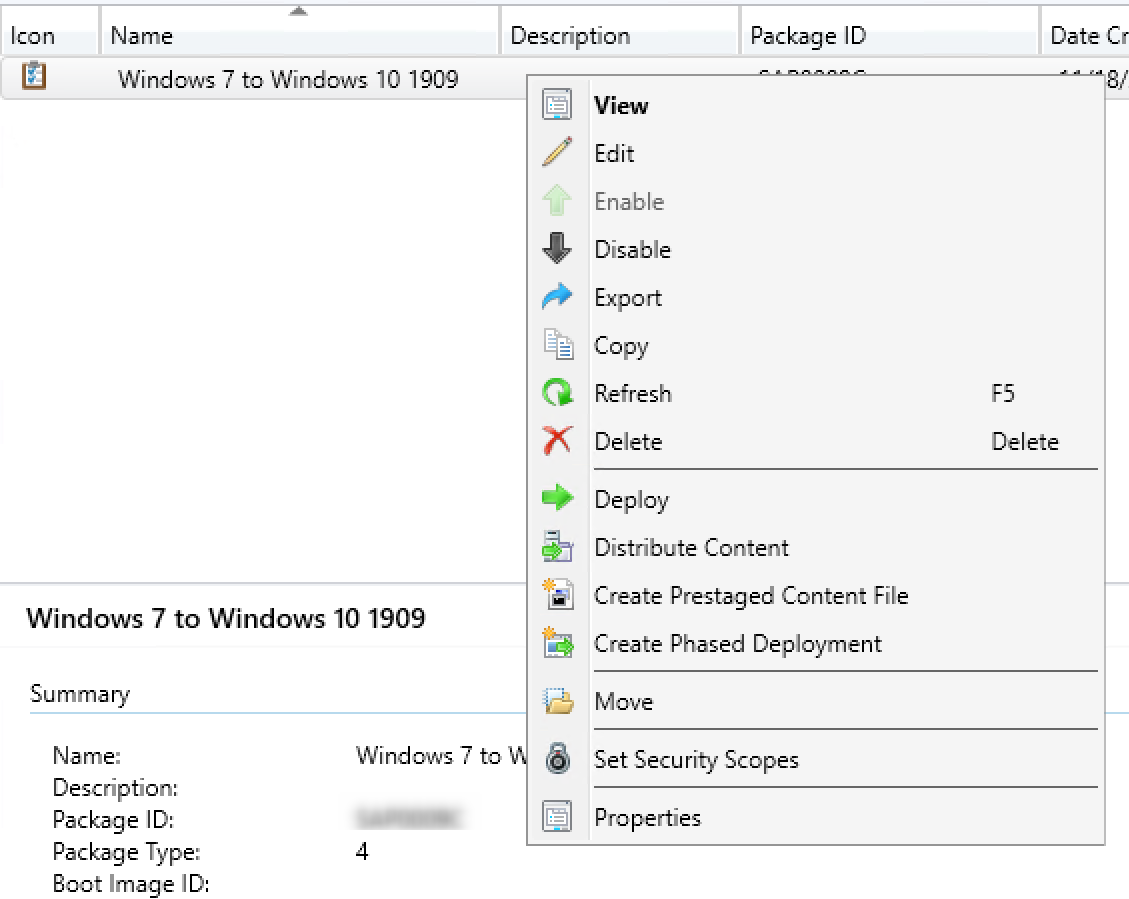
- Go to Software Library \ Operating Systems \ Task Sequences
- Right-click Task Sequences and select Deploy
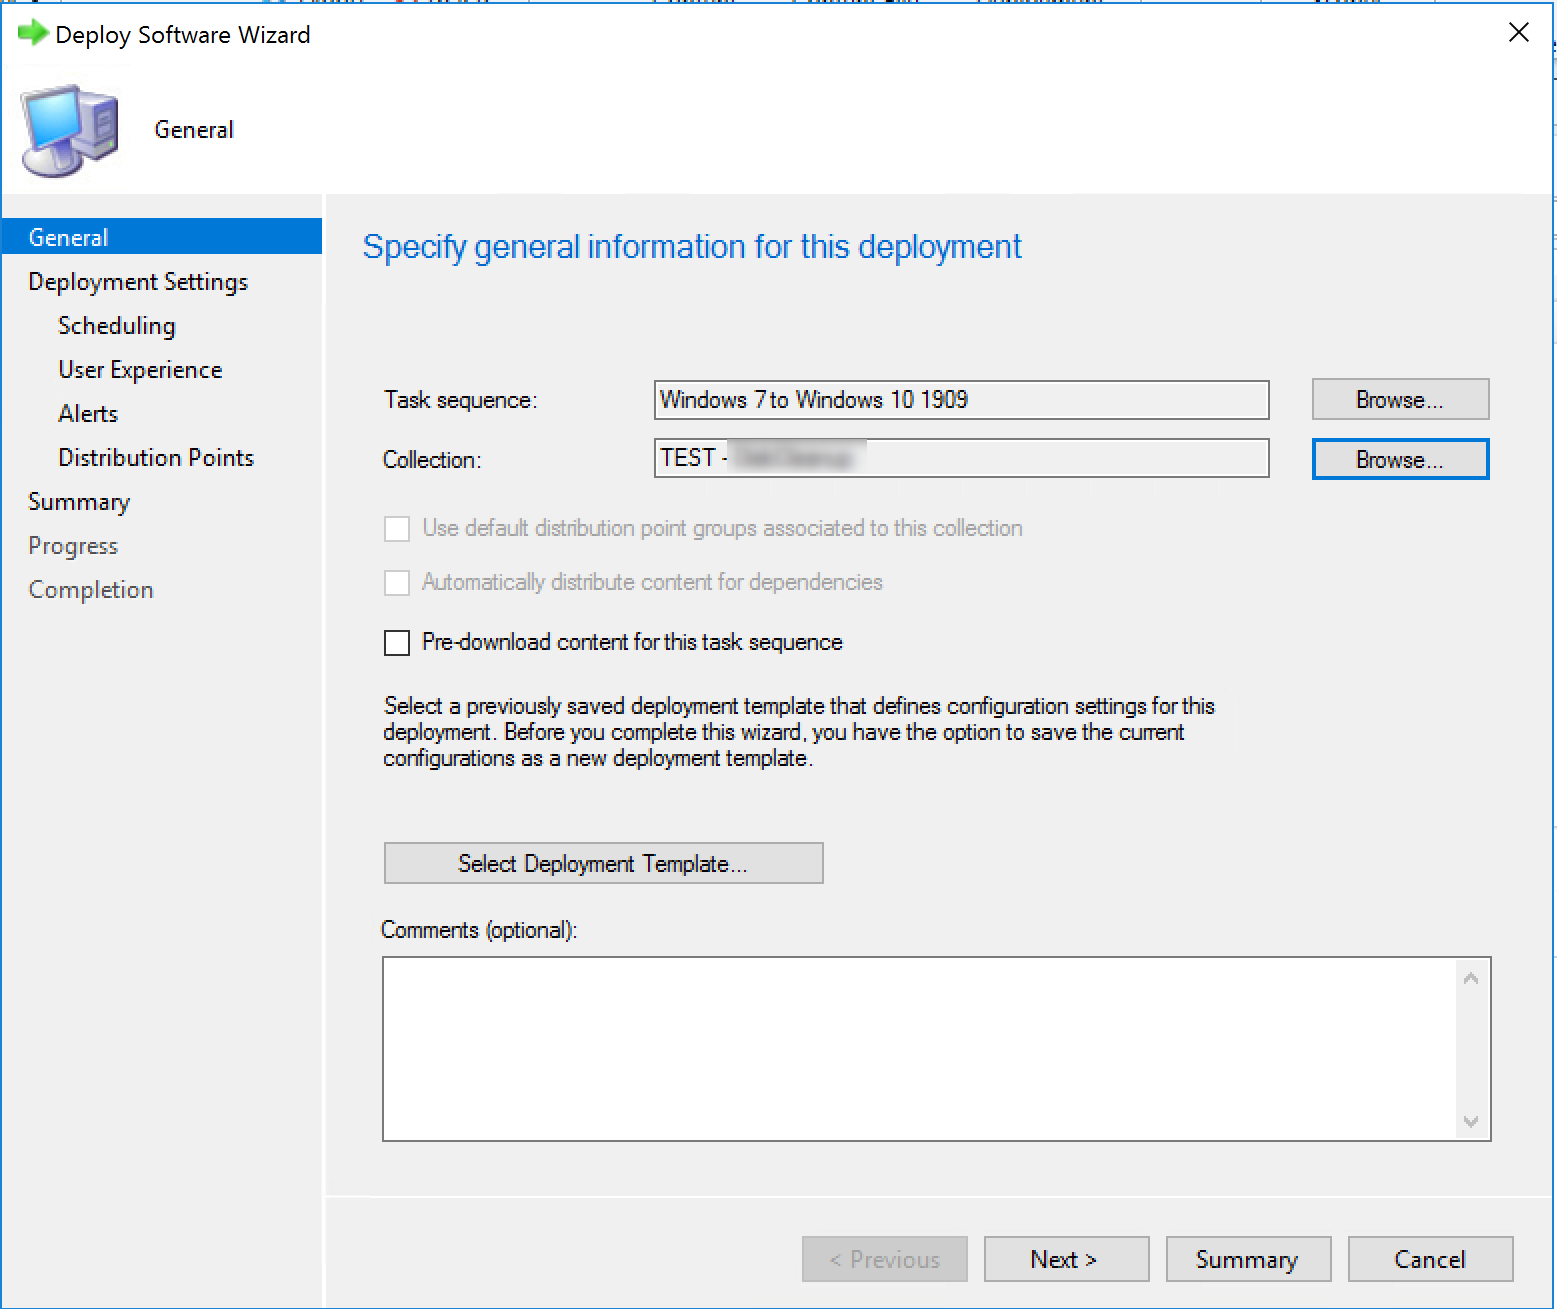
- On the General pane, select your collection. This is the collection that will receive the Windows 10 upgrade. For testing purposes, we recommend putting only 1 computer to start
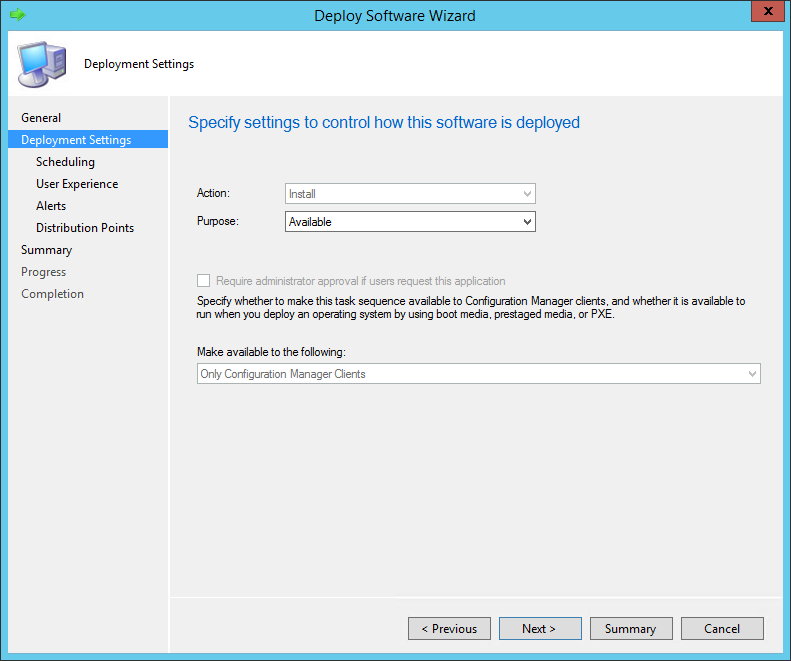
- On the Deployment Settings tab, select the Purpose of the deployment
- Available will prompt the user to install at the desired time
- Required will force the deployment at the deadline (see Scheduling)
- You cannot change the Make available to the following drop-down since upgrade packages are available to clients only
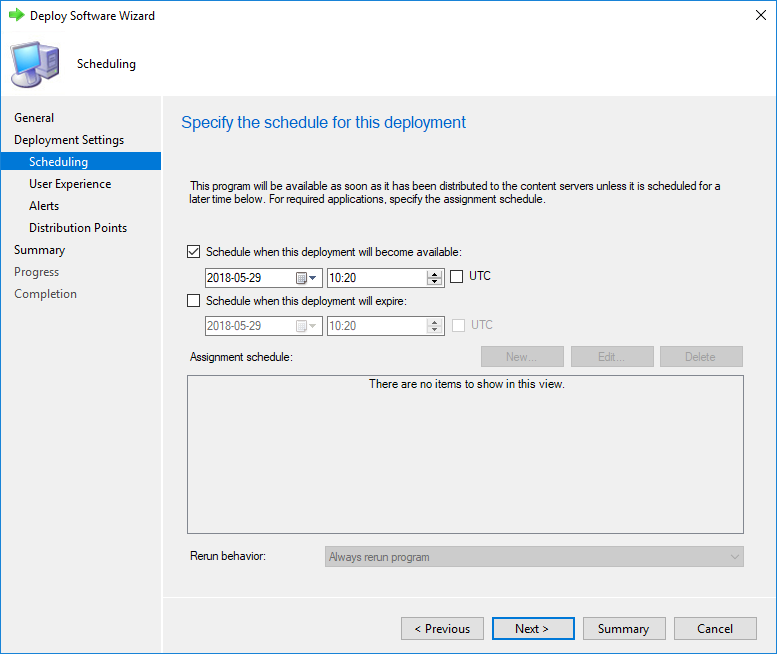
- On the Scheduling tab, enter the desired available date and time. On the screenshot, we can’t create an Assignment schedule because we select Available in the previous screen
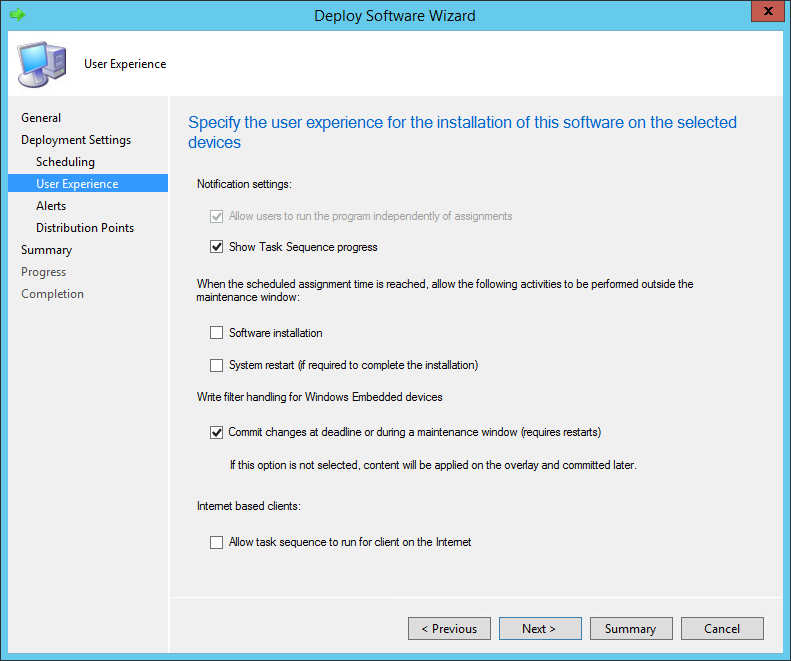
- In the User Experience pane, select the desired options
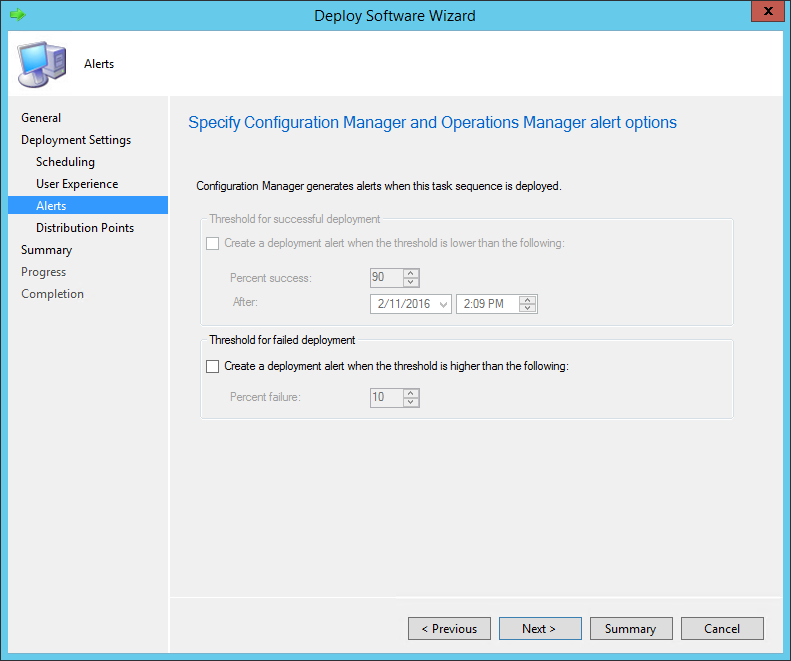
- In the Alerts tab, check Create a deployment alert when the threshold is higher than the following check-box if you want to create an alert on the failures
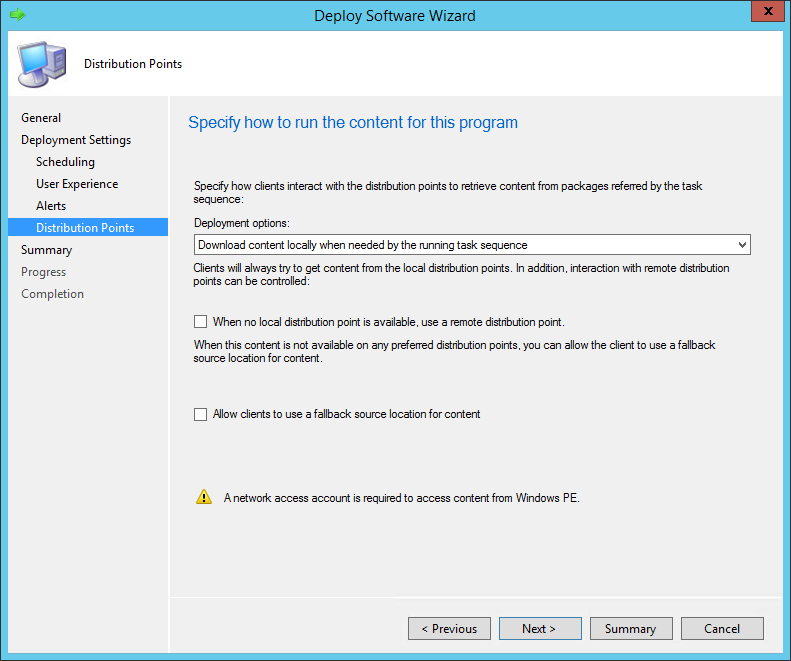
- On the Distribution Point pane, select the desired Deployment options. We will leave the default options
- Review the selected options and complete the wizard
Launch the Upgrade Process on a Windows 7 computer
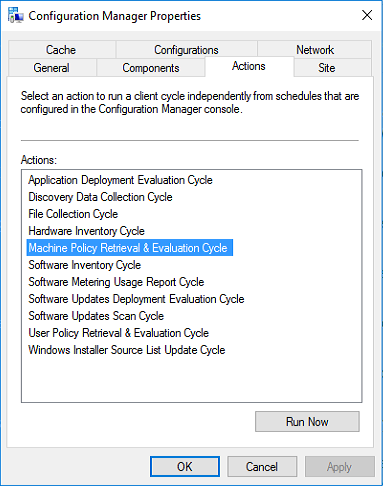
Now that our upgrade task sequence is deployed to our clients, we will log on our Windows 7 computer and launch a Machine Policy Retrieval & Evaluation Cycle from Control Panel / Configuration Manager Icon
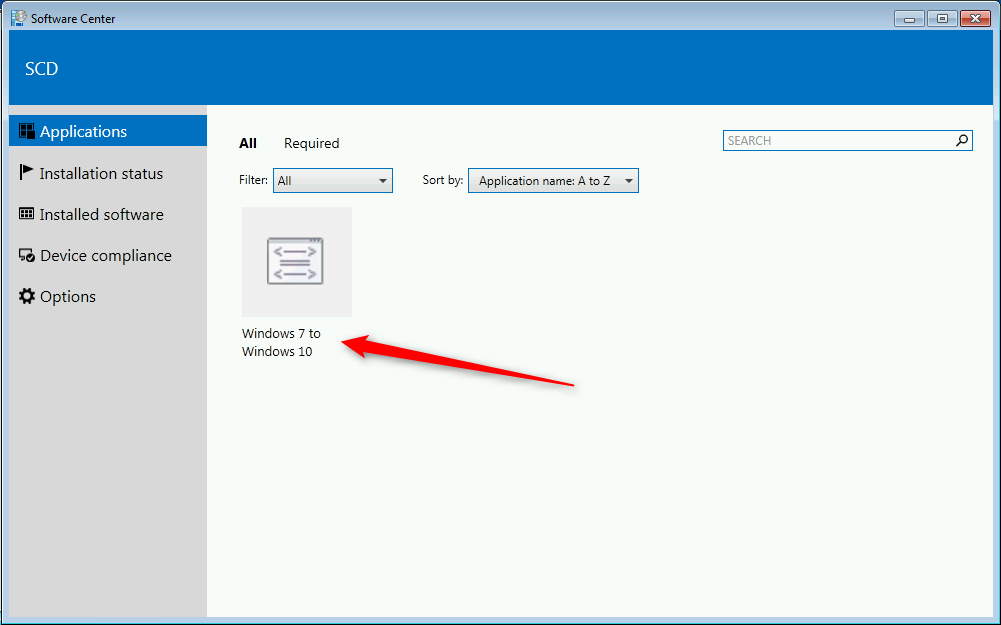
- Open the new Software Center from the Windows 7 Start Menu
- You’ll see the SCCM upgrade task sequence as available. We could have selected the Required option in our deployment schedule, to launch automatically without user interaction at a specific time
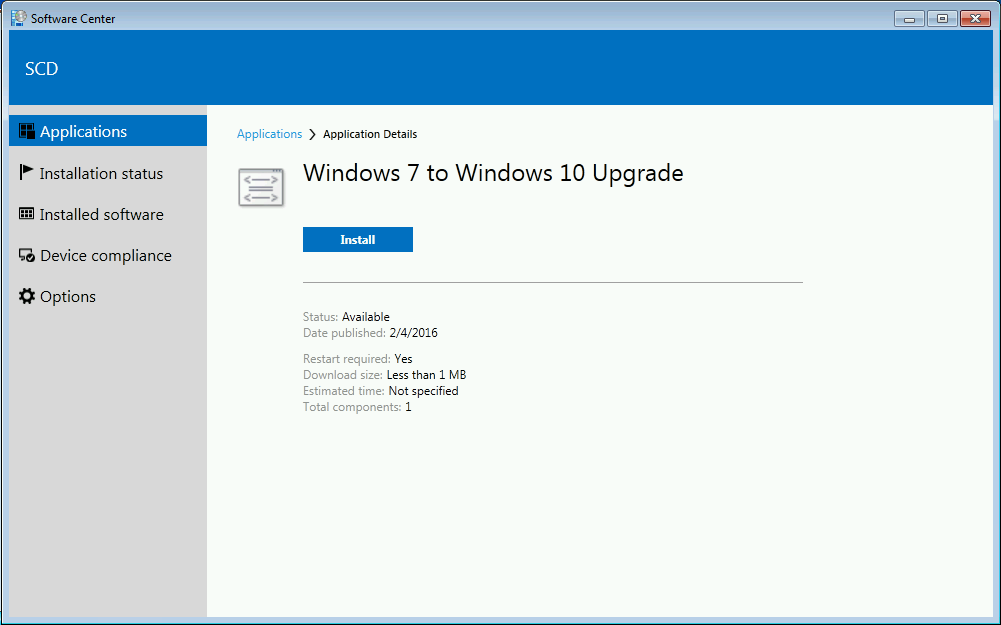
- When ready, click on Install
- The following warning appears
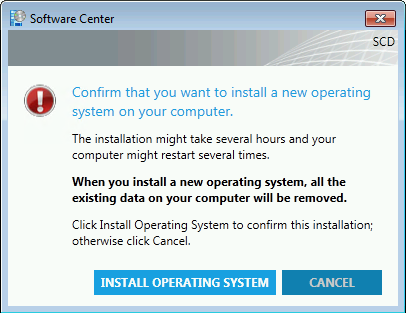
[su_box title=”Warning” style=”glass” title_color=”#F0F0F0″]The When you install a new operating system, all the existing data on your computer will be removed warning is not true. This issue will be resolved in future release.[/su_box]
- Click on Install Operating System
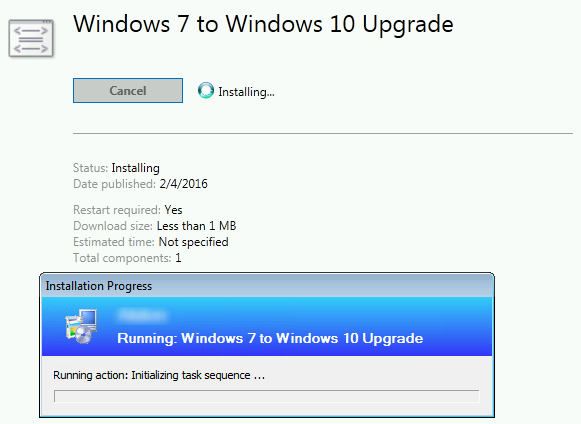
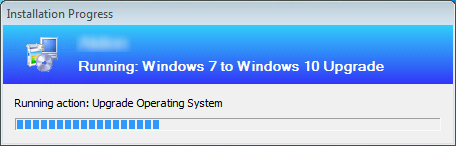
- The update is starting, the task sequence Installation Progress screen shows the different steps
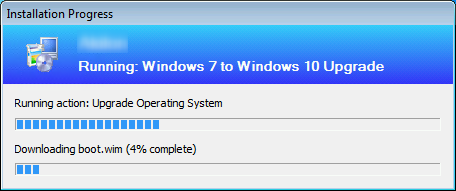
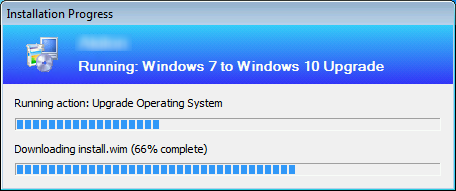
- The WIM is downloading on the computer and saved in C:\_SMSTaskSequence
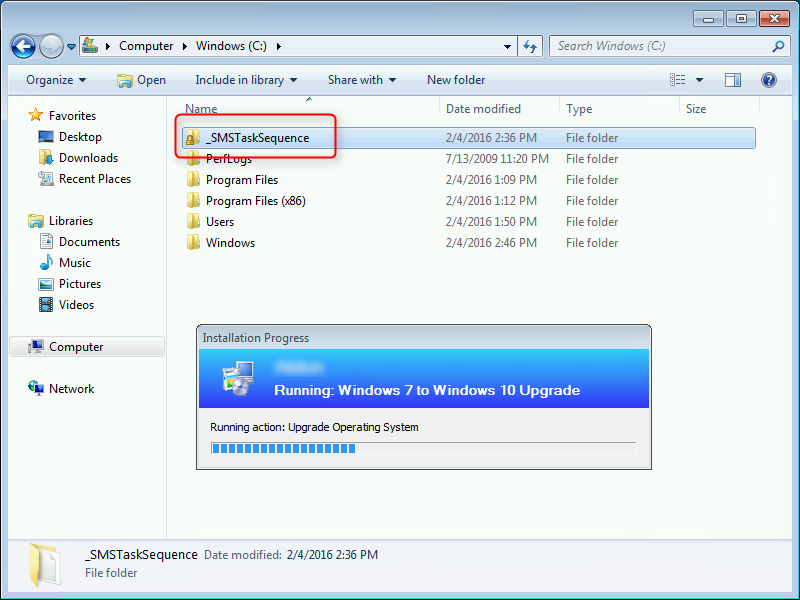
- You can follow task sequence progress in C:\Windows\CCM\Logs\SMSTSLog\SMSTS.log

- After downloading, the system will reboot
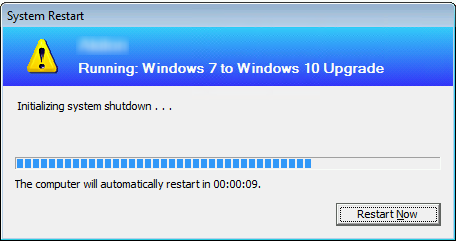
- The computer restart and is loading the files in preparation of the Windows 10 upgrade

- WinPE is loading
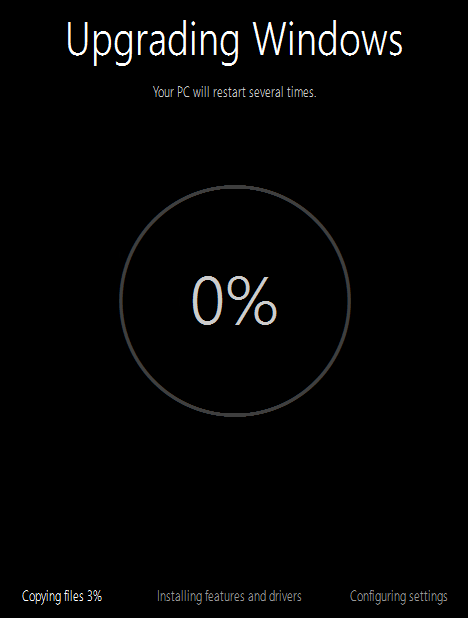
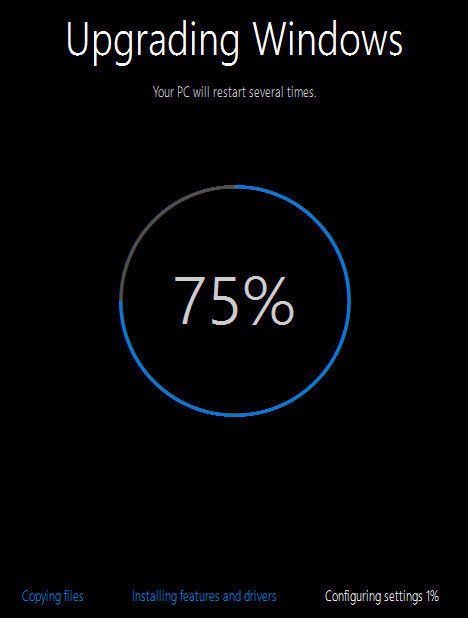
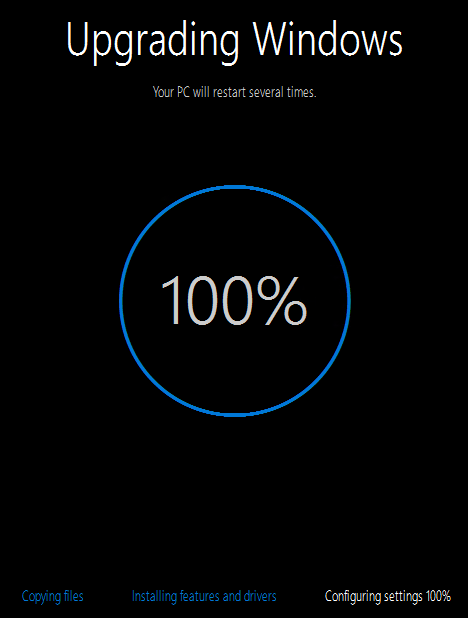
- The upgrade process starts. This step should take about 15 to 30 minutes depending on the device hardware
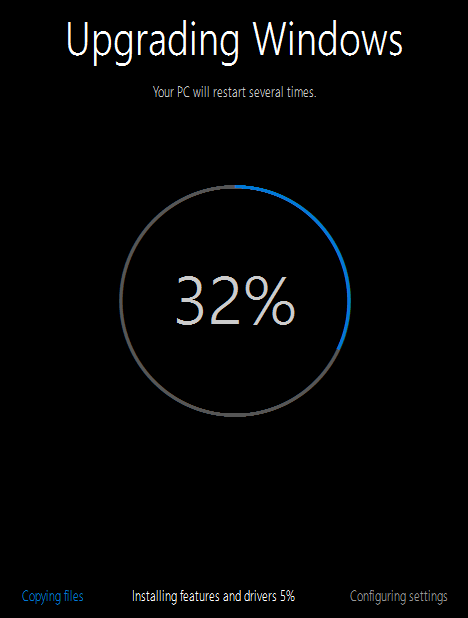
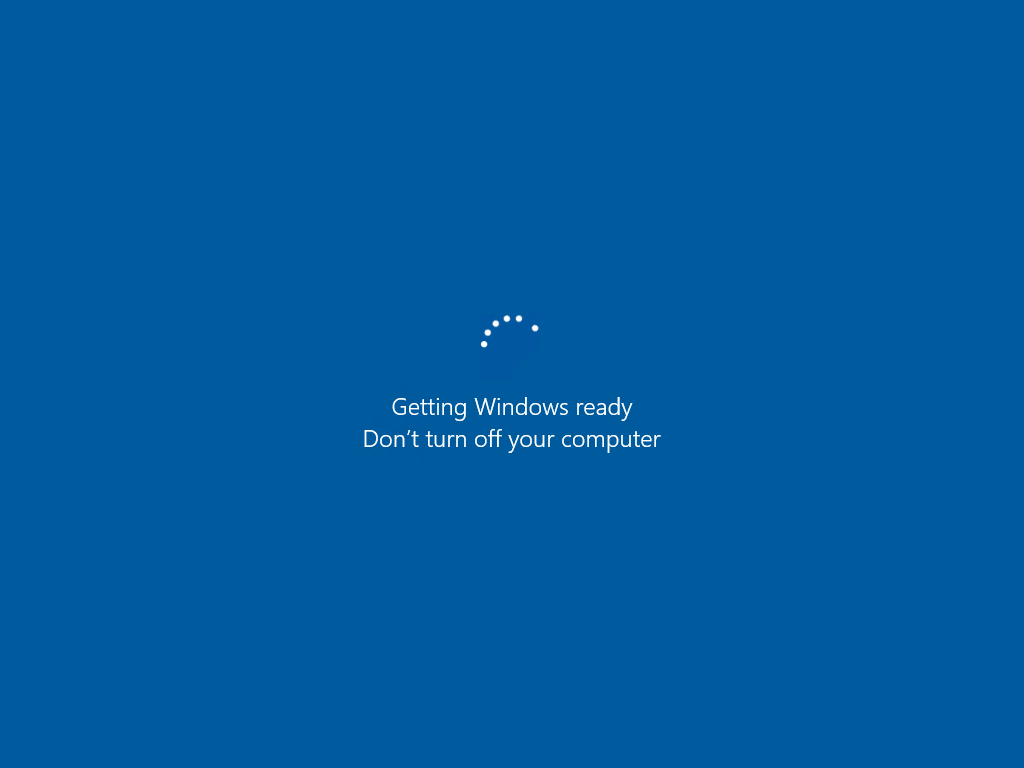
- Windows 10 is getting ready, 2-3 more minutes and the upgrade will be completed
- Once completed the SetupComplete.cmd script runs. This step is important to set the task sequence service to the correct state
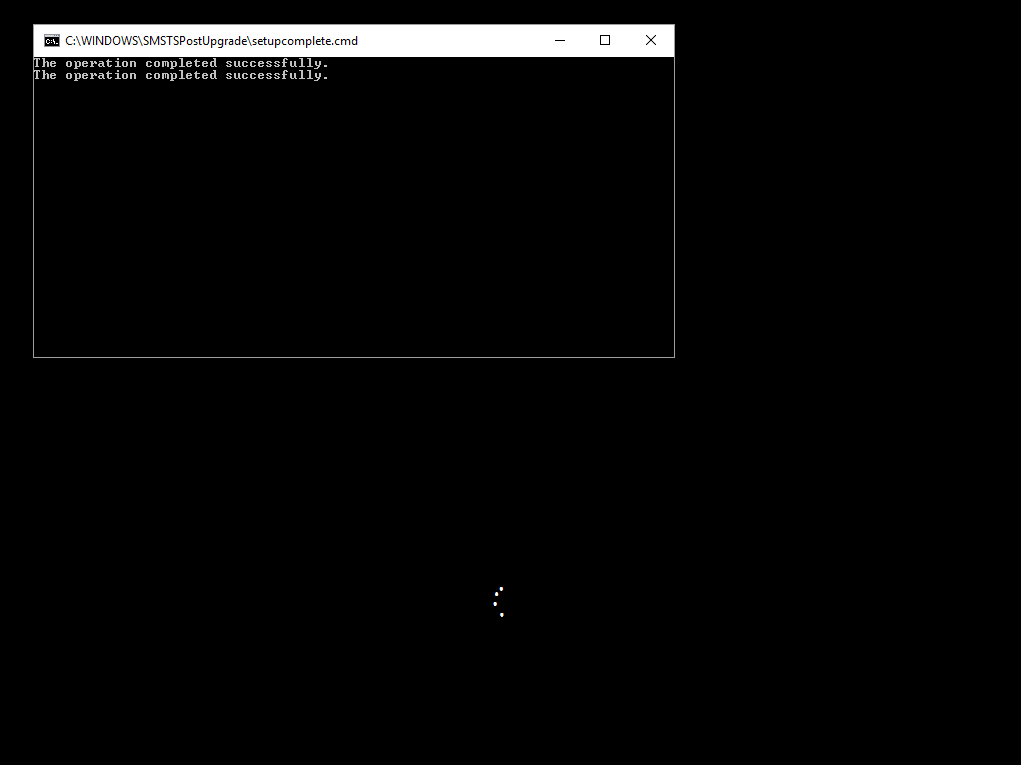
- Windows is now ready, all software and settings are preserved

Create Software Update Group
One important thing in any OSD project is to make sure that the deployment of every machine is up to date. Before deploying Windows 10 1909, make sure that your Software Update Point is configured to include Windows 10 patches.
Once Windows 10 is added to your Software Update Point, we will create a Software Update Group that will be deployed to our Windows 10 deployment collection. This way, all patches released after the Windows 10 media creation (or your Capture date) will be deployed during the deployment process.
To create a Windows 10 Software Update Group :
- Open the SCCM Console
- Go to Software Library / Software Updates / All Software Updates
- On the right side, click Add Criteria, select Product, Expired and Superseded
- Product : Windows 10
- Expired : No
- Superseded: No
- Title contains 1909
- Select only the latest Cumulative Updates that apply (x64 or x86) and select Create Software Update Group
- Once created, go to Software Library / Software Updates / Software Update Groups
- Right-click your Windows 10 SUG and deploy it to your OSD deployment collection
Import ADMX File
If you’re responsible for managing group policy in your organization. Ensure that you import the latest Windows 10 1909 ADMX file on your domain controller.
Bonus Ressources
Need a report to track your Windows 10 devices? We developed a report to help you achieve that :
Asset – Windows 10 SCCM Report

Share
Get the latest insights and exclusive content delivered to your inbox


mcafee security
04.09.2020 AT 12:10 AMnorton product key
03.25.2020 AT 05:47 AMwww.norton.com setup
03.25.2020 AT 05:44 AMwww mcafee activate
03.04.2020 AT 02:31 AMeset internet security
02.13.2020 AT 02:02 AMes
02.13.2020 AT 01:58 AMmichel
02.11.2020 AT 10:04 AMjohn
02.03.2020 AT 04:49 AMrblxgg
01.24.2020 AT 01:45 AMfree vbucks
01.22.2020 AT 07:05 AMMcAfee account login
01.13.2020 AT 07:27 AMDism error 87 windows 7
01.10.2020 AT 09:12 AMNorton setup
01.10.2020 AT 07:36 AMTal
01.08.2020 AT 10:18 AMJonathan Cooper
11.19.2019 AT 03:57 PM