
Create SCCM Custom reports with Labels of Asset Intelligence
Founder of System Center Dudes. Nick has been awarded in 2016 to 2019 as a Microsoft MVP in Enterprise Mobility category. Working as a senior SCCM and Intune advisor as well as a specialist Microsoft Cloud solutions specialist.

Nicolas Pilon
Vice-PresidentTable of Content


Share


Get the latest insights and exclusive content delivered to your inbox
When it’s time to make SCCM custom reports, we usually use information from Add Remove Programs. However, for technical reasons, adequate results are not always easy to achieve. Custom labels in Asset Intelligence help standardize and gather software information.
This post will explain how to use the data from custom labels in asset intelligence to create custom reports. Before starting the reports, make sure the custom labels are set in your environment from how to maximize the use of custom views in Asset Intelligence.
Configuration Manager came with some Asset Intelligence reports but nothing special based on the custom labels. The only helpful report is Software 12A | Software titles with a specific custom label defined.
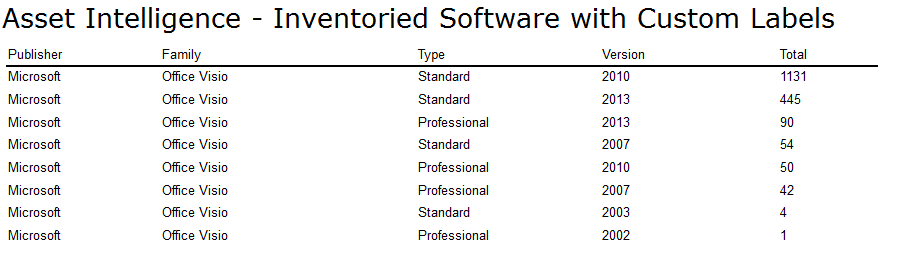
After this post, you can build a report like the one below.
Views
First, here’s the list of SQL views used by SCCM for custom labels in Asset Intelligence :
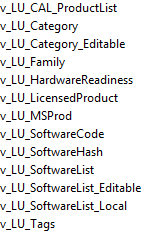
If you want to see how they are made and the relationships between them, right-click on each view in SQL Server Management Studio and select the top 1000 rows. You can access the database from the central site or primary.
SQL Server Management Studio is an essential tool for developing queries for SCCM reports. Make sure your account has enough access to read the database.
We will use v_LU_SoftwareList_Editable for our report because it contains everything we need.
Query
The report will show the total count by custom labels. Open SQL Management Studio and execute the SQL query below in your environment. You should see something like the screenshot below.

We are now ready to create the custom report!
SCCM Custom Reports
To create a custom report, please follow the steps :
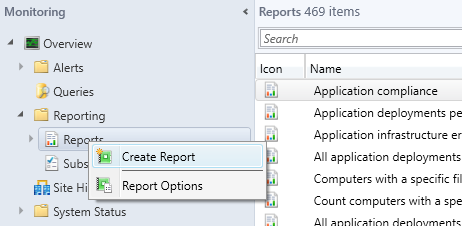
- Open the SCCM console and go to Monitoring / Overview / Reporting
- Right-click on Reports and select Create Reports
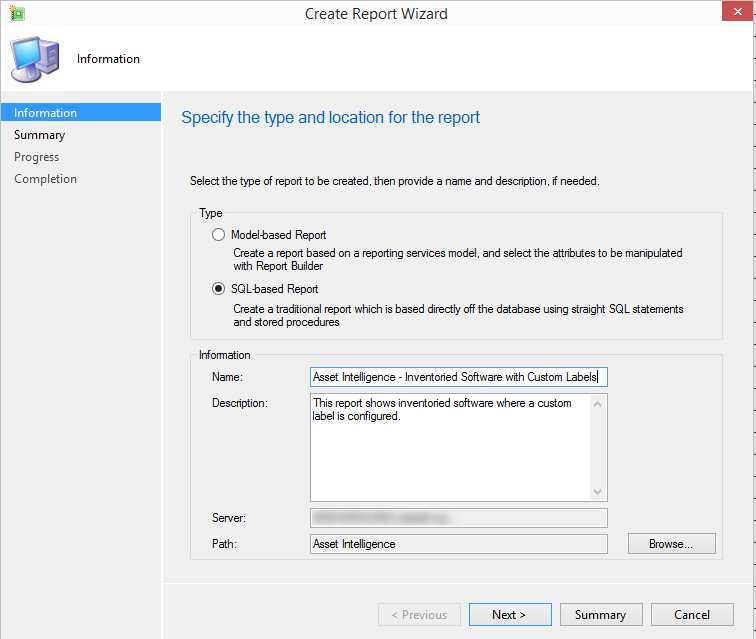
- On the Create Report Wizard, select type SQL-based Report.
- Enter the report’s name Asset Intelligence – Inventoried Software with Custom Labels.
- Fill out the report description. This report shows inventoried software where a custom label is configured.
- Click on Browse and select the report folder, which is the report location. In this case, we use the Asset Intelligence folder.
- Click Next.
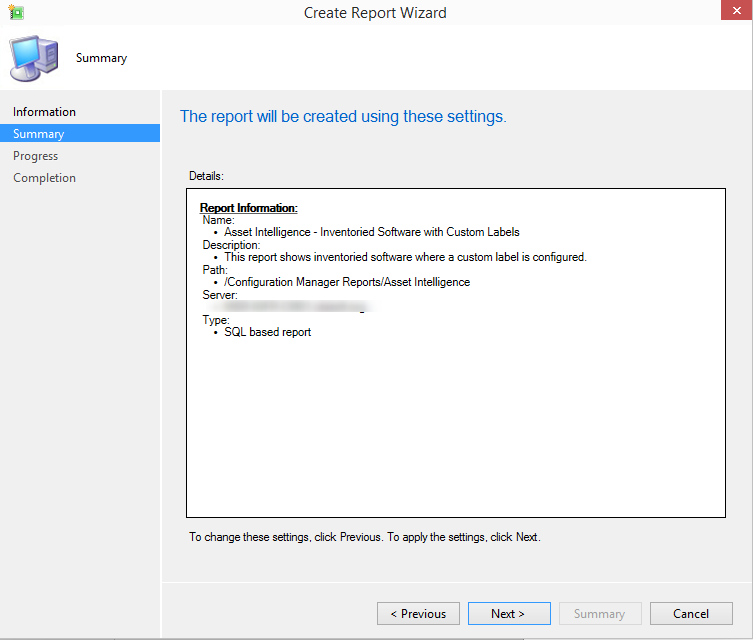
- Confirm the details summary and click Next.
- If the Create Report Wizard succeeds, you should have a green check everywhere.
- By clicking Close, Report Builder will automatically run.
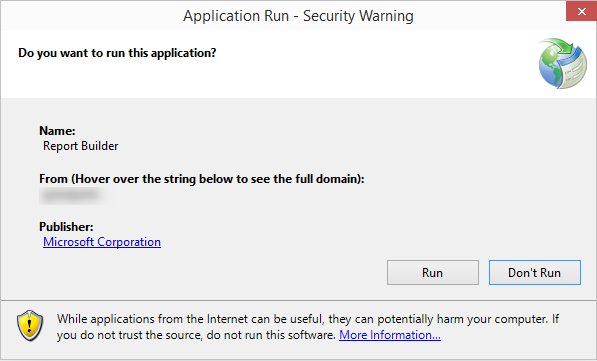
- Click Run.
Here we are, ready to create the report.
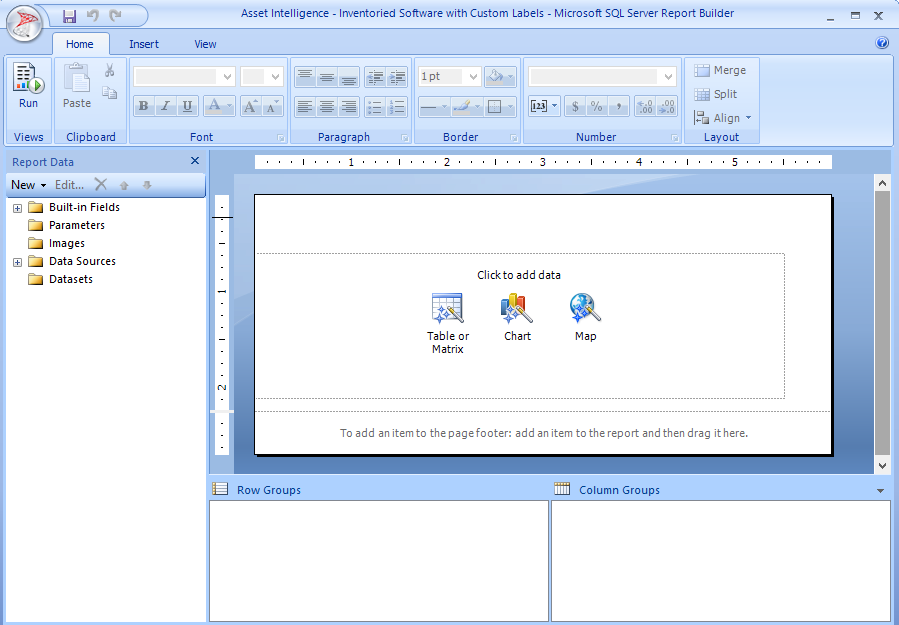
Report Builder
There are a lot of features that you can use in Report Builder to develop nice reports. This post will explain only the minimum requirement for creating a report.
We will not use Built-in Fields, Parameters and Images in our case, but they are instrumental when you want to standardize your reports.
We will only cover Data Sources and Datasets since they are the minimum requirements for creating reports. A data source is the database configuration, and a dataset is the query used for the report.

Data Sources
- Right-click on Data Sources in Report Data on the left panel and select Add Data Source
- From the General tab, enter the name of your data source
- Select Use a connection embedded in my report and select Microsoft SQL Server from the connection type
- In the connection string, enter this string syntax
Data Source=ServerNameWithCMDatabase;Initial Catalog=CMDatabase
** Make sure to enter your information instead of ServerNameWithCMDatabase and CMDatabase **
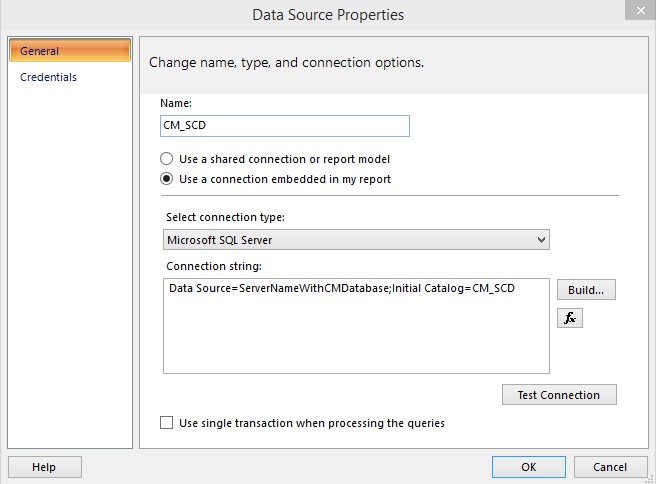
- Click Test Connection to test your configuration and Ok when you’re done
** Make sure that your account has access to the database. If not, set up another account via Credentials on the left panel. **
Datasets
- Right-click Datasets in the left panel and select Add Dataset
- From the Query tab, enter the dataset name in the Name textbox
- Select Use a dataset embedded in my report and select the data source you created in the previous step
- In the Query field, copy-paste the SQL query from the Query section at the beginning of the post
- Click Ok

You are finally ready for the most fun part: creating the visual side of the report.
Design
- Rename the title to Asset Intelligence – Inventoried Software with Custom Labels.
- Right-click anywhere in the report and select Insert / Table.
- An empty table will appear.

The idea is to take the dataset fields to the table. There are 2 ways to import fields :
- Expand Datasets and drag-drop each field into the table.
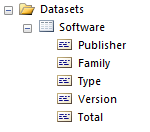
- Click directly on the Data textbox in the table; the complete list will appear. Select the respective field.
This is what your table will look like.

We won’t cover it, but you can change the font colour and style by modifying the text box properties.
- To modify properties, right-click the text box and select Text Box Properties.

Testing
When the design is finished, test the result in Report Builder before importing the report into production.
- Click the Run button on the top left.

Deploy
Are you happy with the results? Let’s deliver the report.
- Click the Save button on the top left.
SCCM Custom Reports – Verification
By saving the report in Report Builder, it will be updated in SSRS and your console. You must install the SCCM reporting services point to see it in SSRS.
SSRS
- Open your web browser, go to your reporting website (usually http://nameoftheserver/reports), and find the report in the correct location.

Console
- Click Monitoring / Overview / Reporting / Reports from the console and discover the report in the correct location.

This formula can be used for any situation. Only your imagination is the limit.
You can now create reports for installed software by standardizing the custom labels. Be sure to monitor the custom labels and inventoried software in Asset Intelligence. The system will not automatically add any new versions detected.
Asset Intelligence Blog Series
- Part 1 | Why should you use Asset Intelligence in SCCM 2012
- Part 2 | How to maximize the use of Asset Intelligence with Labels
- Part 3 | Create Custom Reports with Labels of Asset Intelligence
- Part 4 | Merging Last Usage of Software Metering with Custom Labels of Asset Intelligence
- Part 5 | Automatically Uninstall Unused Applications based on Software Metering with SCCM
Share
Get the latest insights and exclusive content delivered to your inbox


game xóc đĩa ăn tiền thật
06.08.2019 AT 06:58 AMBrock Graham
05.10.2016 AT 10:19 PMRodrigo
02.16.2015 AT 05:08 AMNicolas Pilon
02.16.2015 AT 04:52 PM